
It's time for my first tutorial! I posted this picture on Instagram earlier this week, and have been rocking these nails ever since. I think they're really cute, girly, and perfect to help anyone forget about the chilly weather and remember that Spring is right around the corner! I was inspired by Marc Jacobs designs with the simple, but pretty flowers. However, I did alter them slightly to suit my liking a little more.

For this tutorial you will need:

- Your favourite Base Coat (I used my OPI 'Natural Nail Base Coat')
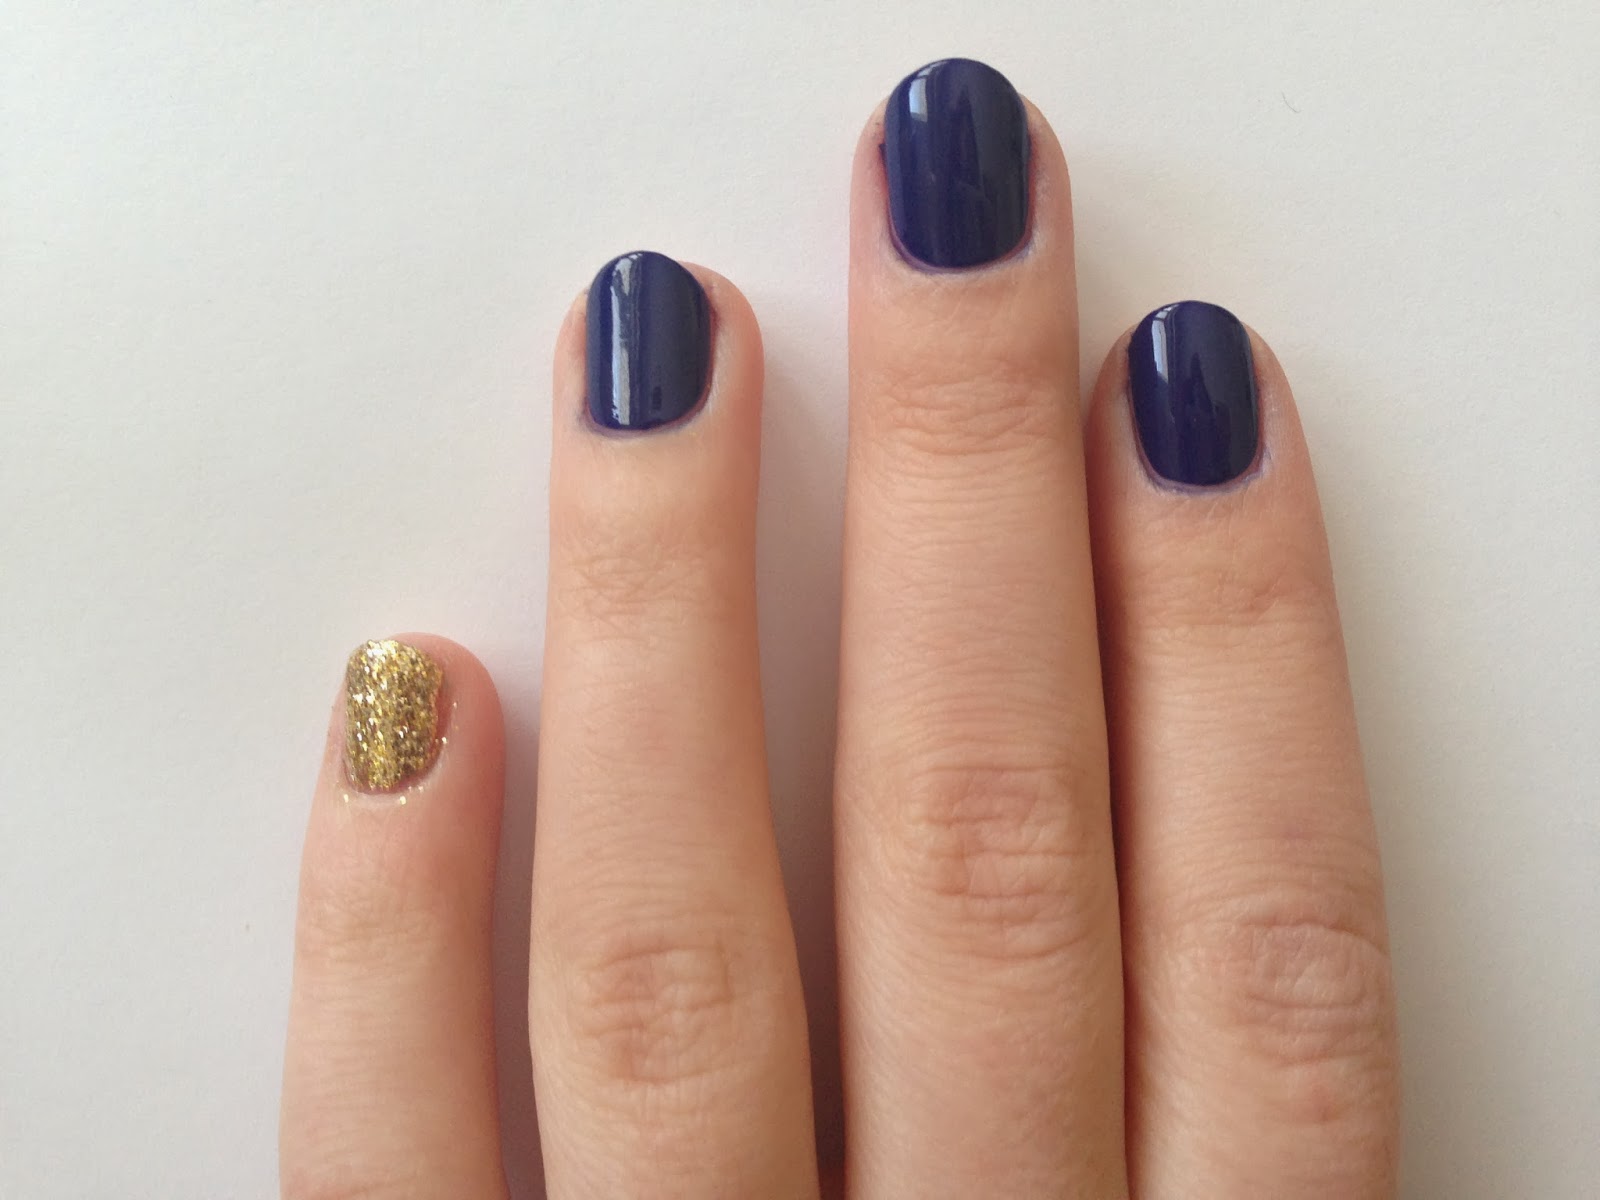
- Navy blue polish, or any other base colour you wish to use (I used 'OPI... Eurso Euro' by OPI)
- Glittery gold polish (I used 'Oscar' by Julep, however this is optional if you don't want to do an accent nail.)
- White polish (I used 'White Matter' by Formula X for Sephora)
- Yellow polish (I used 'Mellow Yellow' by Sally Hansen)
- Your favourite Top Coat (I used my Seche Vite 'Fast Dry Top Coat')
- A small dotting tool, or tooth pick (I used one from my Bundle Monster 20pc Nail Brush Kit)
Step 1: On clean nails, paint on a layer of your Base Coat to ensure that your natural nails are protected.

Step 2: Using the colour you wish to use as your base, paint on two thin layers, ensuring that you allow the polish to dry between each coat. If you wish to do an accent nail, now is the time to also paint the nail of your choosing with the accent colour of choice. I chose to paint my pinky the glittery gold colour.
Step 3: Using your yellow polish and dotting tool, carefully place dots on your nail. Make sure that you leave enough room between each dot to put your petals for the flowers. I put mine in the same place on each nail to create a uniformity on each nail.


BONUS STEP: If you want your nails to look a little more blinged out, you can add either the gold glitter polish, or some caviar beads into the middle of your flowers. To add the glitter polish, use either a tooth pick or small brush to add some of the glitter into the middle of the flower. To add the caviar beads, when the yellow polish is still wet, use tweezers to carefully pick up the beads and place them in the damp polish.

(Ciaté caviar beads in 'Lustre', and Julep polish in 'Oscar')
Step 5: Use your favourite Top Coat to seal in all of your beautiful work, and to ensure that your newly done manicure will last!
That's all it takes! A simple 5 steps to a beautiful new manicure. I really love these nails and think they are a really simple way to make your nails look really cute and put together.
If you're inspired by this tutorial, post a picture on Instagram using #prettiestpolish so I can see your lovely work! If you have any comments, suggestions for tutorials, or future blog posts you'd like to see, leave me a comment down below!
Have an amazing week, and may your nails be BEAUTIFUL!
No comments:
Post a Comment